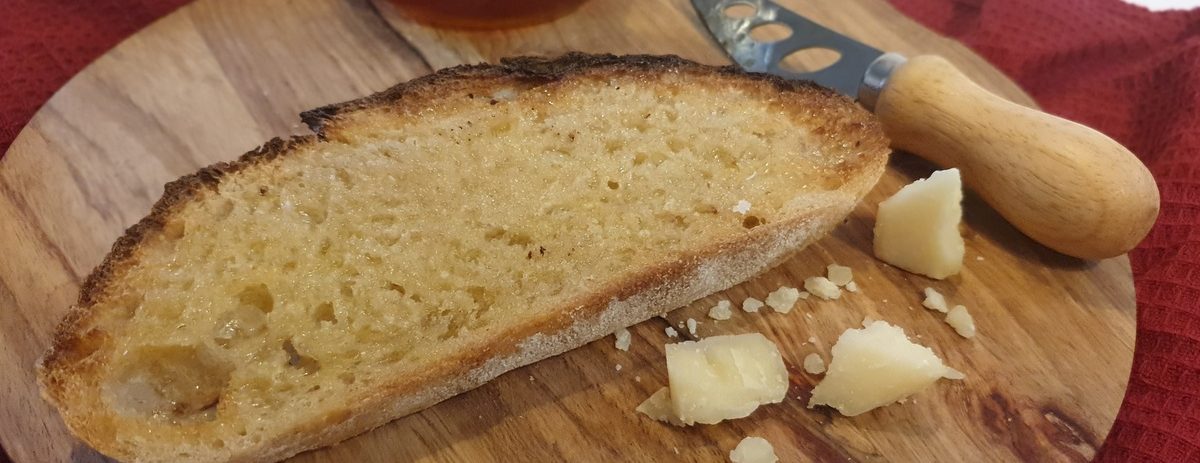

If you really want to make a friend, go round someone’s house with a freshly baked loaf of sourdough bread!
I can vouch for that quote! Sourdough is the best offering to any friend (or enemy). I have yet to be turned down when messaging a friend with “are you home for a bread delivery”. We all know that there is nothing like the smell and taste of freshly baked bread. This is even more so with sourdough. It is wholesome and has a depth of taste that store-bought bread just doesn’t have. And as I mentioned in my post about making your own Sourdough Starter, Sourdough Bread doesn’t necessarily have to taste sour. It’s about the wild yeast that is in the starter and the fact that the only ingredients in a loaf of home-made sourdough are flour, water and salt. The other secret of sourdough bread is in the fermentation of the flour – anywhere from 12 to 24 hours. Sound like lots of work? It isn’t! The dough does 95% of the work by itself – you just have to help it along here and there.
The Steps
As you can imagine there are quite a few steps in a 24-hour process. Starting with mixing and then on to autolyse, stretch & fold, bulk ferment, preshaping & shaping, retarded final proof, scoring and baking. The steps are not nearly as complicated as they might sound. Each step only needs a few minutes of human labour and the rest is left to the natural process of sourdough fermentation.
Mixing
Mixing is luckily an easy one to start off with. I disperse my leaven in most of the water and then add flour and mix until all the flour has been incorporated. At this point I do not add salt – some bakers even leave out the leaven and only mix the water and flour. This is in order for some magic to happen in the next step.
Autolyse
Autolyse (pronounced AUTO-leese) is basically a resting period. Once the dough is mixed, it takes some time for the flour to absorb the water. Absorbing water is what initiates the formation of gluten – the protein in wheat that gives structure to the bread. Your dough would need about 40 to 60 minutes after mixing for this to happen. After the autolyse period, you will already be able to see a difference in the smoothness of the dough. Now you can add the salt and the last bit of water and work the salt into the dough by pinching it with your fingers until all the salt and water has been absorbed and the dough has come together again.
Stretch & Fold
This is a technique that replaces kneading. In my Stretch & Fold post there is a video that demonstrates this method. For sourdough, we do four sets of Stretch & Fold in two hours. That means a Stretch & Fold once every half-an-hour. This will create enough gluten structure for a good loaf. You will be able to see how much more silky and smooth the dough is after each set.
Bulk Fermentation
The Bulk Fermentation is the first rise of the dough. We want the yeast and bacteria in the leaven to ferment the flour and create lots of carbon dioxide. This will cause the dough to double in volume. Depending on the temperature in your kitchen this could take two to four hours. But don’t worry that this step takes long. The bulk fermentation boosts the taste and flavour of the bread.
Preshaping & Shaping
Now we can really get started working with the dough. Once the dough has just about doubled in volume, you turn it out on a surface and do a preshape. Building some structure in the loaf, but not shaping it yet. Then the dough needs to rest for 30 minutes (called a bench rest) before the final shaping of the loaf.
Final retarded proof
We now have a loaf nestled in a floured banneton or loaf tin. The final proof can take 3 to 4 hours before the loaf is ready to bake. The taste of your Sourdough bread will improve with a longer proofing period at a cooler temperature though. So we pop the covered loaf into the fridge for around 12 hours (overnight). This slows down the proofing and allows for lots of fermentation.
Scoring
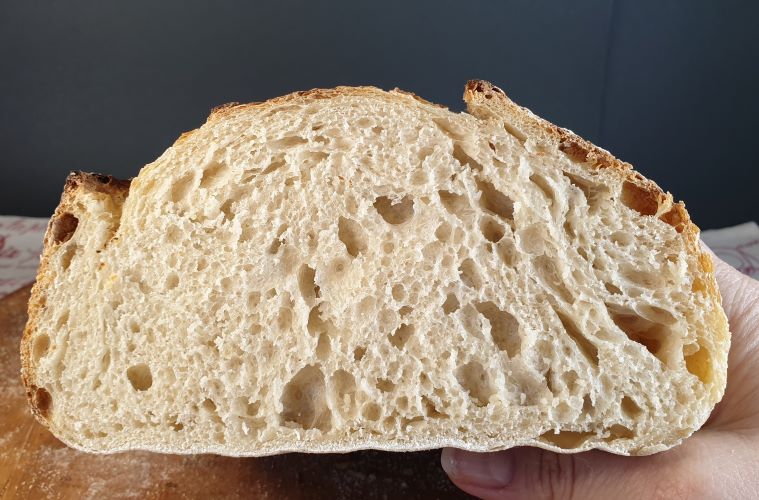
Seach sourdough on Instagram or Google and you will be amazed by the many scoring designs out there. Scoring (cutting the unbaked loaf with a blade) was historically done to mark bread that was baked in a communal town oven. The carbon dioxide and ethanol that is the result of all that fermentation causes what we call an oven spring when the loaf is placed in a hot oven. This quick, substantial rise due to the ethanol evaporating can often lead to the loaf tearing. Scoring provides a release for the loaf to rise without tearing. This is what creates the beautiful “ear” on a loaf of sourdough.
Baking
Ahhh, the final and most talked-about step – we call it baking bread after all! The most important points when baking bread is a very hot oven and steam at the start of the baking process to allow for the oven spring. The best way to get steam into a household oven is to put a cup full of just-boiled water into a hot oven pan in the bottom of the oven as you put the loaf in. Another way is to bake your bread in a Dutch Oven or cast iron pot with the lid on. The moisture coming off the loaf is trapped by the lid and keeps the dough soft during the oven spring. Then we remove the lid after 20 minutes (or open the oven door to let the steam out) and finish the baking process which will give the loaf a golden brown colour.
Just a last bit of patience needed
Ready to cut into your warm loaf? Not yet! Let the bread rest for at least 30 minutes after it comes out of the oven. There is still some cooking happening inside your bread, so give it some time. The bread stays warm for quite a while, so you will still get your slice of warm bread.
The Reward
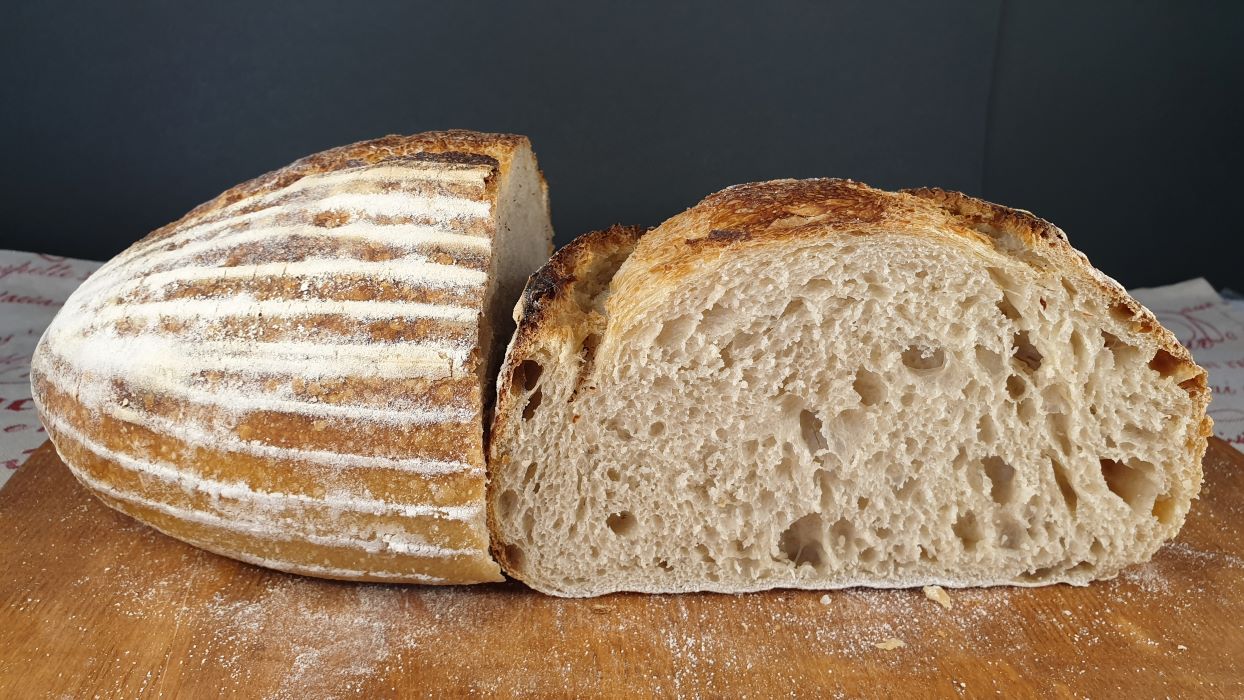
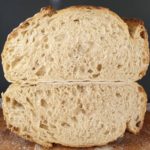
White Sourdough Bread
Ingredients
- 431 g white bread flour unbleached, stoneground flour works best
- 324 g water, divided in 302g and 22g
- 86 g sourdough leaven
- 9 g salt
Instructions
- In a large bowl. weigh out the 302g of water and add the leaven. Disperse the leaven in the water.
- Add the flour and mix until all the dry flour has been incorporated.
- Cover the bowl with a cloth (I use a clean plastic shopping bag that will be big enough for my bowl and put the bowl inside the bag) and let rest for 40 to 60 minutes for the autolyse period.
- After the autolyse period, sprinkle the salt over the dough, add the 22g of water and work the salt into the dough by massaging it with your fingers until the dough comes together again and all the water and salt has been absorbed. Cover and rest for 30 minutes.
- Do 4 sets of Stretch & Folds, one every 30 minutes, covering the bowl after each Stretch & Fold.
- After the last Stretch & Fold, let the dough rest for 2 to 4 hours for the Bulk Fermentation. The dough should nearly double in volume.
- Turn the dough out onto a floured surface. Preshape the dough and let it rest for 30 minutes.
- Do the final shaping and put your loaf in a well-floured banneton, loaf tin or in a cloth-lined container. Place the covered loaf in the fridge for the final retarded proof.
- The following morning, heat the oven to as high as it will go (around 250°C) without the thermofan. If you have a pizza stone you can heat that in the oven to help keep a stable temperature when you bake the bread. Otherwise, put a baking tray in the oven. If you are baking the bread in a Dutch Oven or cast iron pot, place the pot lid-on in the oven when you turn it on.
- Once the oven has come to temperature, you can wait for another 10 to 15 minutes to ensure the oven is evenly warmed up or use an oven thermometer to check the oven temperature.
- Remove your loaf from the fridge (no need to let it warm up first). Turn it out onto baking paper or a silicone baking mat and score the loaf with a razor blade held at a 30° angle.
- Place the baking paper or mat onto the pizza stone / baking tray, or open the lid of your pot and carefully put the bread inside using oven gloves. Replace the lid and slide the oven rack into the oven.
- Pour a cup of just-boiled water into an oven pan at the bottom of the oven (still using oven gloves and being careful to keep your face away from the steam). Quickly close the oven door and set a timer for 20 minutes.
- After 20 minutes, crack the oven door open to release the steam, or remove the lid of the pot. Close the oven again and set the timer for another 20 minutes. If your loaf is browning quickly at this stage you can reduce the oven temperature to 220°C.
- Remove the loaf from the oven and place on a wire cooling rack for 30 to 60 minutes to cool down. If you have done the baking process correctly you will see some blistering on the crust, a nice oven spring and you will hear cracking and hissing as the loaf cools down.
Notes
- The Baker's Formula for this loaf is:
- Flour 100%
- Water 75%
- Leaven 20%
- Salt 2%
- If you want to use the Baker's Formula to adjust the hydration (water percentage) or type of flour (you can use half white and half whole-wheat), have a look at my post on Baker's Formula here.
- To make leaven you need some Sourdough Starter and equal amounts of flour and water. To make 86g of leaven, mix 10g of starter, 40g of water and 40g of flour and let it sit for at least 5 to 6 hours. Do the float test to check whether it is ready.
Not sure you can do this by yourself yet?
There are so many resources available on the Internet and in print that I am convinced anyone can master the art of baking sourdough. Just read, research and practice! If you are hesitant, try this Sourdough Sandwich Loaf by the Kitchn that uses yeast and sourdough starter. The Kitchn also has comprehensive info on sourdough baking. Or if you want some face-to-face instruction, sign up for a Sourdough Baking course at the Crust and Crumb. They are masters at teaching artisan baking!
Leave a Reply