
Dip ‘n Ouma, dip ‘n Ouma, dip ‘n Ouma!
~ Advertising jingle of Ouma Rusks (RCL Foods) ~
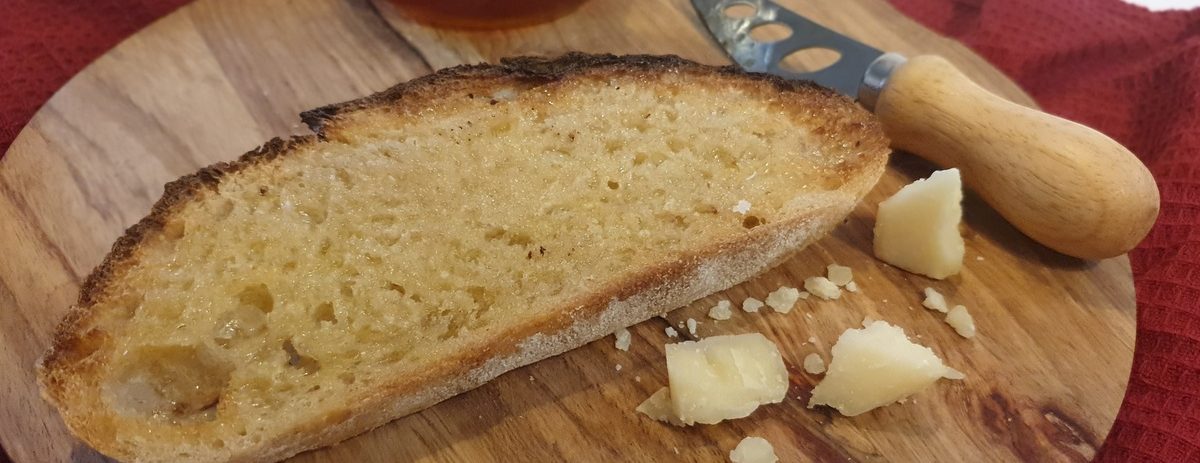
Ha! Most South Africans are now humming the little tune for the Ouma TV advert. Directly translated this slogan means “Dunk a Granny”! No, we do not go around dunking actual grannies. An Ouma rusk is the most popular brand of rusk sold in South African by RCL Foods. They have a lovely story on their website about Granny Greyvensteyn who started selling her family recipe rusks in the town of Molteno in 1939. South Africans love rusks, known in Afrikaans as beskuit. Rusks are basically made from dough similar to bread dough that is baked and then dried in a cool oven. This makes it hard and dry but increases the shelf life. So what do you do with a chuck of hardened bread? You dunk it in tea or coffee!
Variety is the spice of life
As is often the case when necessity creates something new, we didn’t just stop at drying out bread to make it last longer. Rusk baking became an art form and there are now hundreds of varieties of rusks. Everyone has their recipe – I adapted my Seeded Buttermilk Rusks from one in my mom’s recipe scrapbook. South Africans love buttermilk rusks which are slightly sweeter than the original types. Whole-wheat rusks are also popular, as well as rusks with nuts, seeds, dried fruit or muesli. You can also buy your rusks from a variety of places. Ouma Rusks are sold in supermarkets packaged in boxes like biscuits. Home industry shops also sell rusks that are made by home bakers or small bakeries. And finally, there is the option of ordering rusks from whoever bakes them in your office or circle of friends!! I can supply you with some names, of course.
Danger rating: Extremely High!
In my house rusks are a special treat. It is very dangerous for me to buy any as I will eat them all up as fast as I can. I love nothing better than to skip breakfast and just keep on dunking rusks in my coffee until the coffee goes cold. Seeing as that could be 3 or 4 rusks, you can start to see my problem. The worst is that I will happily do that again for afternoon coffee time. Even though there are many types of diabetic rusks available, the best rusks are made with full cream buttermilk and a large quantity of butter like these Seeded Buttermilk Rusks. I could try to make things sound better by saying I don’t like my rusks too sweet, but I don’t think there is much chance for redemption! All I can say is “Happy dunking”!
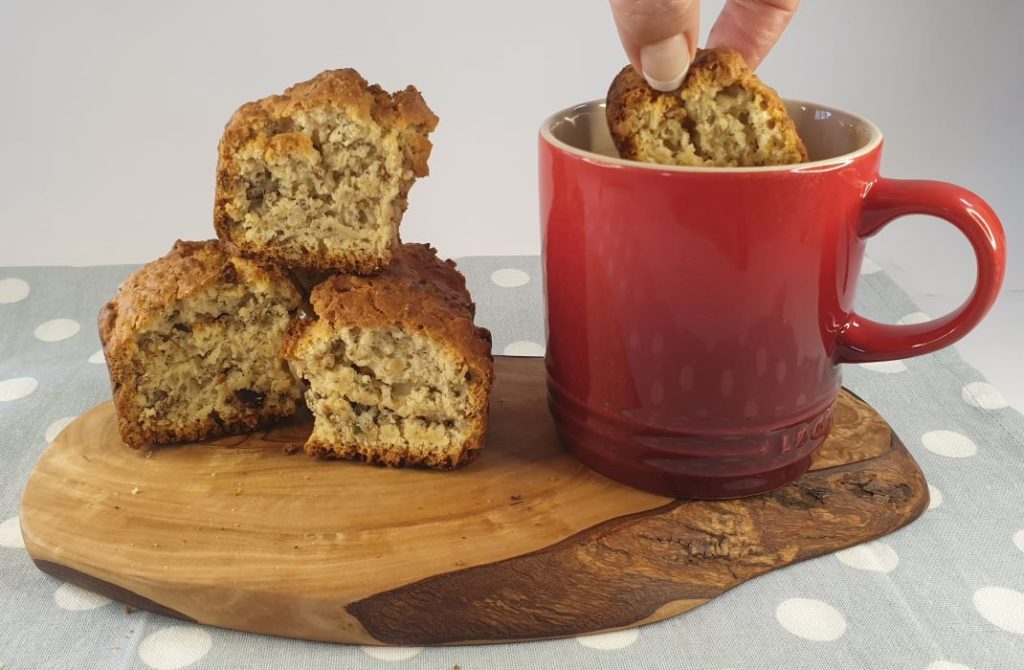

Seeded Buttermilk Rusks
Ingredients
- 1 kg self-raising flour
- 5 ml baking powder
- 5 ml salt
- 375 g butter or margarine
- 250 ml sugar
- 2 eggs, beaten
- 500 ml buttermilk
- 3 cups bran cereal, I use All Bran Flakes
- 1 cup seed mixture See note *
- 10 ml vanilla essence
Instructions
- Preheat the oven to 180°C.
- Grease 3 to 4 loaf tins or one large rectangular oven pan.
- Melt the butter and let it cool down for a few minutes.
- Sift the dry ingredients together in a large mixing bowl.
- Add the sugar, bran cereal and seed mixture and stir through the dry ingredients.
- Add the beaten eggs and vanilla essence to the buttermilk and mix.
- Add the buttermilk mixture and the melted butter to the dry ingredients and mix very well or use a stand mixer with the K-paddle attachment. * See note
- Spoon the dough into your prepared tins or pans and flatten it by hand.
- Bake for 30 - 40 minutes until a skewer inserted in the middle comes out clean.
- Let the rusks cool down before you cut them into fingers or squares.
- Place the rusks on baking sheets with some space around each rusk and dry them in a cool oven (65 - 90°C) for 5 to 6 hours or overnight. Leave the oven door slightly open to aid the drying process.
Notes
- For the seed mixture: I buy a breakfast seed mix which contains sunflower, flax, pumpkin and sesame seeds. You can also create your own mix of seeds, nuts or even raisins, or simply add a cup of your favourite muesli.
- When baking muffins or cake, one shouldn't mix the batter too much or it will start to develop gluten and have a chewy texture. When baking rusks we do want there to be some gluten developed as that holds the rusk together during the drying process. Mixing the dough with a stand mixer achieves that. You could even swap the K-paddle for a dough hook once the dough is mixed well and give the dough a bit of a knead for 5 minutes or so.
- I am not very good at cutting rusks, biscuits or brownies into uniform units. I have therefore invested in a rusk pan and cutter (available online at kitchen shops or at baking wholesalers). Once you have spooned the dough into the rusk pan, you spray the cutter with non-stick spray and push down into the dough. Remove the cutter and bake the rusks as indicated. Once the rusks have cooled down, you can break them apart from each other.
- The smaller you cut the rusks, the more you will have and the quicker they will dry out. However, don't cut them too small - you need a good-sized rusk to hold on to while dunking!
lyk.baie lekker kan julle hulle email reseptec
I have never had users request e-mailed recipes, so unfortunately I don’t have that feature enabled on my website.